

If you’re a pet parent, you know the "tumbleweed struggle" is very, very real. You finish a twenty-minute manual brushing session, look down, and somehow your dog still looks like a cloud and your floor looks like a barber shop floor. No matter how much you brush, the fur just keeps coming.
Traditional brushes are great for bonding, but when it comes to actually managing the massive amount of hair our furry friends drop, they often fall short. They flick fur into the air, leave half the undercoat behind, and frankly, they’re a workout for your wrist.
That’s where the pet grooming vacuum comes in. It’s the ultimate game-changer for anyone tired of finding fur in their morning coffee. But if you’ve ever tried to bring a standard vacuum near a cat or a skittish dog, you know it can be a challenge.
At Chew Crew Pet, we’re obsessed with making pet care easier and more stylish. That’s why we’ve rounded up the best professional-grade tools and seven clever hacks to help you master the art of vacuum grooming. Say goodbye to manual labor and hello to a fur-free home!
1. The "Sniff and Treat" Introduction
The biggest hurdle to vacuum grooming isn't the machine: it’s the noise. Even the quietest models, like our Pet Grooming 2L Vacuum Suction Kit, produce a sound that can be alien to a pet.
The Hack: Don't even turn it on the first day. Place the vacuum in the middle of the room and let your pet investigate it at their own pace. Every time they sniff it or walk near it, give them a high-value treat. Once they’re comfortable with the "stationary monster," turn it on in a different room so they get used to the hum from a distance.

2. Low-Mode Magic (The Slow Start)
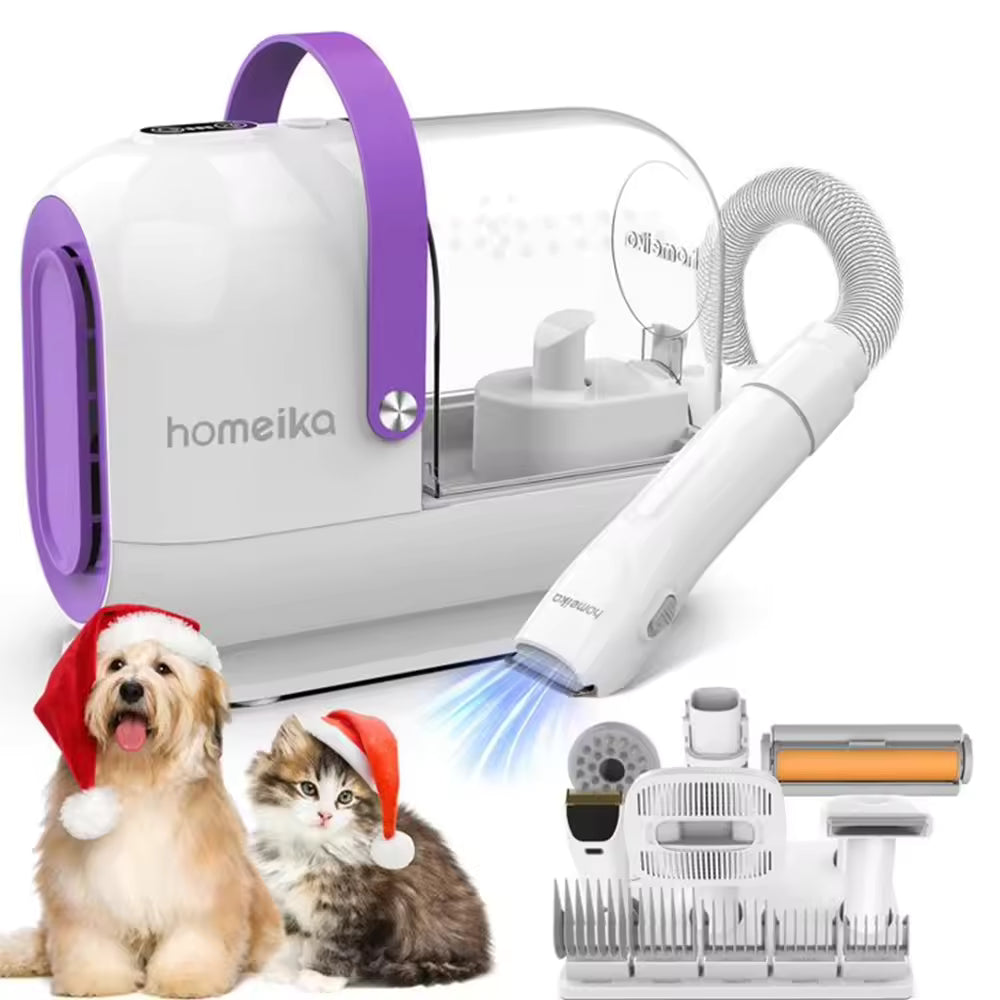
Most high-quality kits, such as the Homeika Pet Grooming Kit, come with multiple suction modes. A common mistake is starting at the highest power to get the job done quickly.
The Hack: Start on the lowest setting. The goal for the first few sessions isn't to remove every single hair; it’s to build trust. The lower suction feels like a gentle massage rather than a pull. As your pet starts to lean into the brush, you can gradually increase the power. This "slow and steady" approach prevents the vacuum-phobia that ruins many grooming routines.
3. Go With the Grain (The Directional Sweep)
It might be tempting to scrub back and forth to loosen more hair, but that’s a quick way to cause skin irritation or "brush burn."
The Hack: Always move the vacuum attachment in the direction of hair growth. This is more comfortable for the pet and allows the suction to pull the hair into the bin more efficiently. Think of it like a long, sweeping stroke. If you hit a patch of thick undercoat, use the de-shedding rake attachment (found in our 5-in-1 Pet Grooming Kit) and let the 15kpa of suction do the heavy lifting for you.
4. The Tangle Pre-Treat
While a grooming vacuum is a powerhouse for loose fur, it’s not meant to yank through mats or heavy tangles. If you try to vacuum a matted area, the tugging will scare your pet.
The Hack: Do a quick "pre-scan" with a manual tool like the Self-Cleaning Slicker or our Knot Cutter Set. Once the mats are loosened or removed, the vacuum can sail through the coat, whisking away all the loose dander and hair that usually hides underneath those tangles.
5. The Post-Bath "Dry-Vac" Combo
Many pet parents try to vacuum a damp dog after a bath, but wet fur is heavy and clumps together, which can clog the filters and reduce suction power.
The Hack: Bath your pet first using a de-shedding shampoo, then let them dry completely. Once they are "fluff-dry," use the Amicura P1 Pet Grooming Set, which actually features a built-in hair dryer. By drying and then immediately vacuuming, you catch all the hair that was loosened by the water before it has a chance to settle on your carpet. It’s a professional-level salon finish right in your living room.
6. The Furniture Rescue Hack
If you think your grooming vacuum is just for the pet, think again. One of the best parts about tools like the Neakasa Grooming Vacuum is the accessory kit.
The Hack: Use the crevice tool and the cleaning brush attachment to hit your sofa immediately after you groom your pet. Even with the best vacuum grooming, a few stray hairs might escape. Because the machine is already out and running, you can do a 60-second "furniture refresh." The high suction of these specialized pet vacuums is often better at grabbing embedded hair than a standard upright vacuum.

7. The Weekly Filter Ritual
A grooming vacuum is a high-performance machine, and pet hair is its primary fuel. If you find the suction is "dipping," it’s probably not the motor: it’s the maintenance.
The Hack: Make it a habit to empty the bin during the session if you have a heavy shedder, and always clean the HEPA filters weekly. Most of our kits, like the 2L Vacuum Suction Kit, are designed with easy-to-empty bins. Keeping the airflow clear ensures that the vacuum removes 99% of dander and allergens, which is a lifesaver for families with allergies.
Why Switch to Vacuum Grooming?
Beyond the time-saving benefits, vacuum grooming is simply healthier for your pet. It removes the dander and dust that can lead to skin irritation and hotspots. Plus, by capturing the hair at the source, you’re preventing those allergens from circulating in your home's air.
Whether you have a long-haired Maine Coon or a double-coated Husky, a dedicated grooming kit is the smartest investment you can make for your home's cleanliness and your pet's comfort.
Ready to transform your grooming routine? Check out our full Grooming Tools Collection to find the perfect fit for your furry friend. If you have questions about which vacuum is right for your pet's specific coat type, don't hesitate to reach out via our Contact Us page: we’re always here to help!
Happy grooming, and here's to a house with fewer tumbleweeds!